Install & Configure Cline in VS Code
Installing Cline in VS Code and Using a Custom OpenAI-Compatible API
Cline is an open-source AI coding assistant that brings autonomous actions, task planning, and extensibility into Visual Studio Code.
This guide walks you through:
- Installing the Cline extension
- Connecting it to Kakoti OpenAI-compatible API
- Verifying the integration
1. Install the Cline Extension
- Open VS Code.
- Go to Extensions (
Ctrl+Shift+X). - Search for Cline.
- Click Install.
2. Open Cline
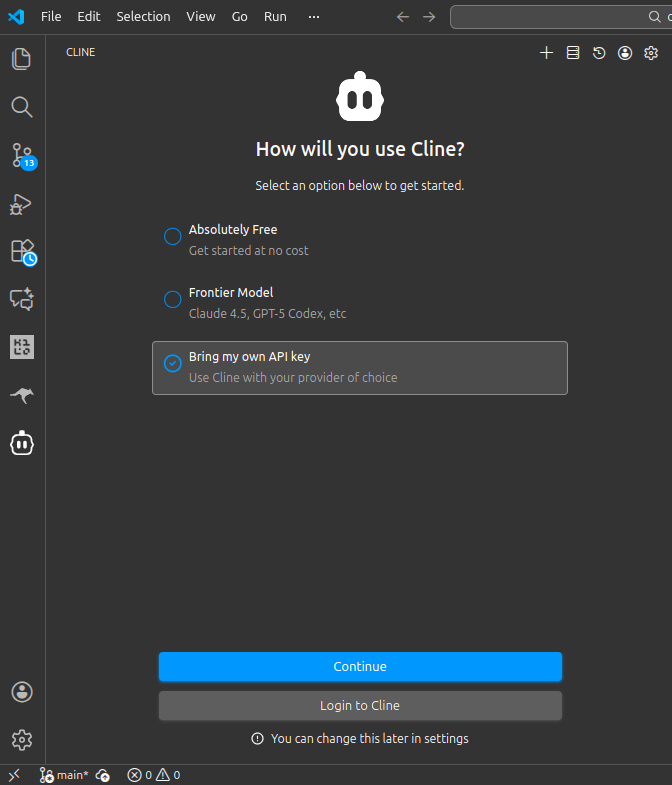
From the VS Code sidebar Activity Bar, click on the Cline icon. The Cline Chat and Welcome screen will open. In the Welcome screen, you must configure the LLM API to be used in Cline. To use the Kakoti LLM service, select the “Bring my own API key” option and click Continue.
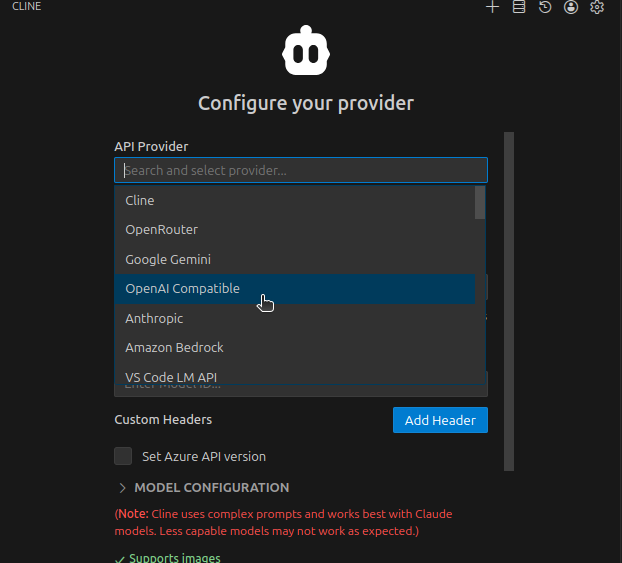
3. Configure the API
In the API Provider dropdown, select the “OpenAI Compatible” option, then fill in the “Base URL” and “OpenAI Compatible API Key” with the values you copied from the Kakoti LLM Panel - Go to Panel.
For the model ID, you must enter the name of the model in the Kakoti LLM service. You can find it on the models page.
This is the minimum configuration needed to use Kakoti. You can leave other options untouched, select the Done button at the top, and start using Cline.